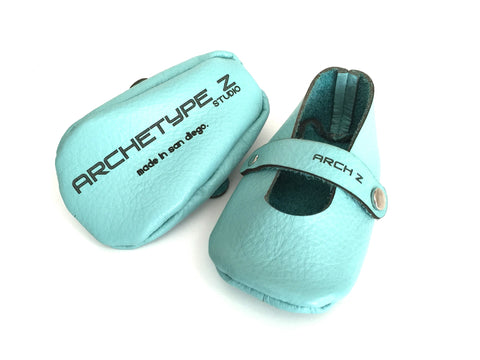
While I've worked with leather for a few years, I've never attempted to make shoes thinking it would be really difficult and time consuming. So when a family member who is expecting asked me to make baby shoes my first reaction was "umm no". Then I did a little research and came across a lot of tutorials and realized it might not be quite as difficult as I originally thought. I ended up trying a few different ones out and in the end drew up my own to get the design I had in mind. The pattern for this is available for free (link at the top).
What you will need to complete this project:
- Soft, pliable leather that is ~ 2-3 oz in thickness and at least letter size. You can get this at Tandy Leather or buy a small piece from a craft store like Michaels or Joann.
- Dap contact cement (or similar). You can get this at a hardware store.
- Thick, strong thread for stitching. I used Coats & Clark Upholstery thread. You can get this from Joann or other sewing/craft stores.
- A sewing machine for straight stitch (or you can sew by hand if you have experience hand sewing leather).
- Sewing machine leather needles (I believe the one I used was size 18 for leather). I bought most of mine from Amazon.
- Pair of good quality leather/fabric scissors (or laser cutter if you have access to one). I bought my scissors from Amazon.
Optional: Temporary double stick tape for keeping the pieces together while you sew. You can get this from Joann or other sewing/craft stores.
Step 1: Choose a Piece of Leather
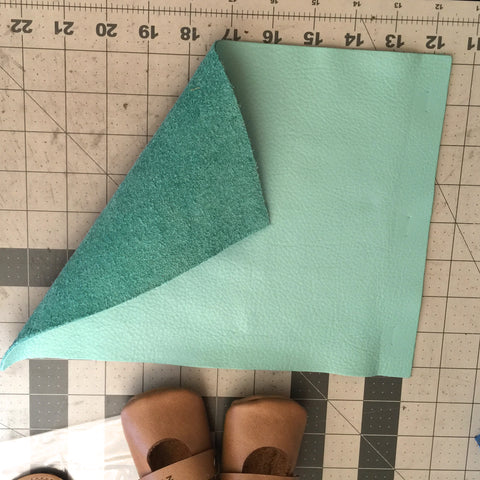
Since this is in leather there are a few things to consider when choosing an appropriate piece for making shoes-- the leather needs to be pliable (not firm), it needs to be thin (I wouldn't attempt anything more than 3 oz leather), and it needs to be a piece that is at least the size of letter paper to fit the while pattern. I wanted a bright colored leather for this project but I didn't want a lot of it so I bought an small piece from a craft store. You may also be able to find scrap leather at a leather store that should work as well.
Step 2: Cut Your Leather
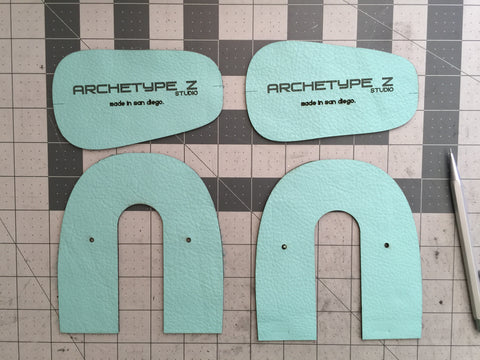
I laser cut my pieces but I have tried this where I used good quality leather scissors so it can definitely be done that way. The pair of scissors I have are large and difficult to use for small cuts so I decided I would get a nicer cut using the laser cutter. Plus you can laser engrave the sole with whatever you want (in my case my company logo-- hey free advertising!). But if the laser cutter is not an option just cut out the pattern pieces and trace them onto your leather and cut away.
I should mention something about the pattern-- I have holes marked on the top portions for adding snaps and rivets. You can just use those as a guide for where to attach the strap that goes across and don't need to punch those holes out. In fact after doing it with rivets and snaps I think it might have been better to just stitch one side and use velcro on the other. The other thing I should mention is that the shoes in the pattern aren't a set size (I didn't have a human baby lying around I could test them out on, and the cat really does not like wearing shoes). I roughly based the size on other patterns I looked at but you should print a copy out and decide if you want to scale up or down.
Step 3: Stitch the Ends of the Shoe Tops
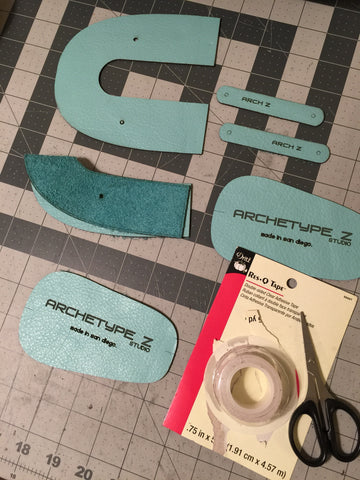
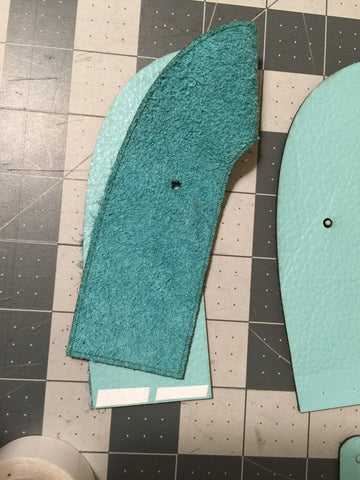
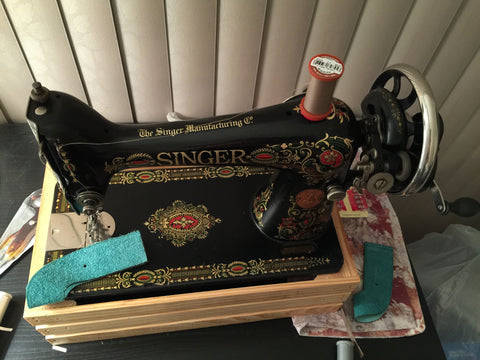
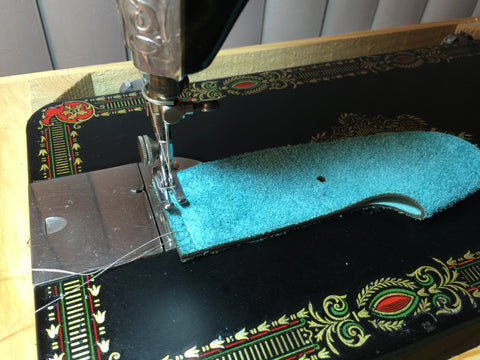
This is where you will use the temporary double stick tape. Take each top with the bottom side out and attach the good sides to each other with the temporary tape (you will remove it after stitching). I've seen people use contact cement here and then pull them apart but I was concerned it would be too permanent.
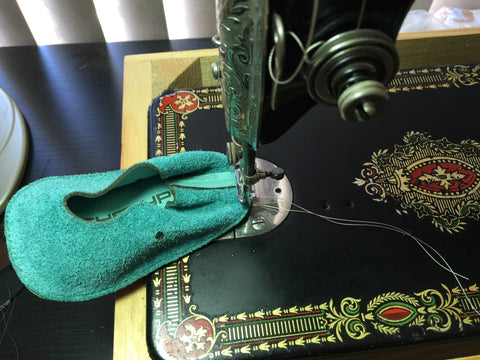
After attaching take it to your sewing machine. I should mention here that I'm a newbie when it comes to machine stitching (so I don't have a lot of advice to give here) and prior to getting my Vintage 1919 Singer Sewing Machine with hand crank I had no experience sewing on a machine at all. The hand crank allows me to sew slowly which is important with leather stitching since you only get one shot (if you mess up you might have noticeable holes in your leather). I made my seam about 6mm from the edge (or a 1/4") and back stitched both ends then tied them off. After that I pulled the taped ends apart and removed the temporary tape.
Step 4: Sew the Tops to the Soles
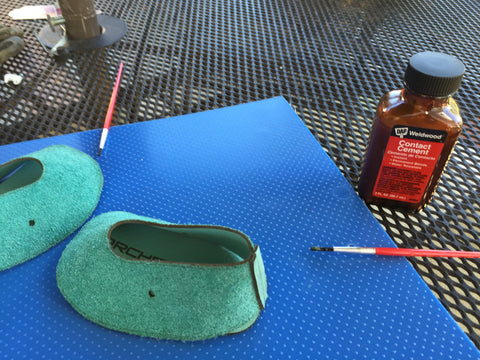
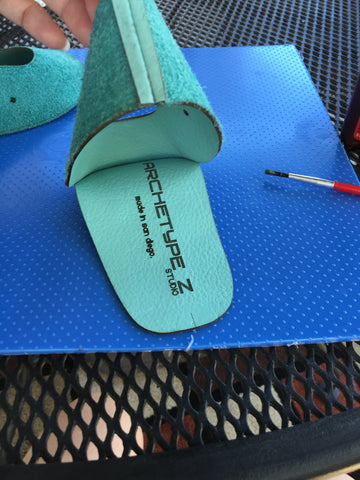
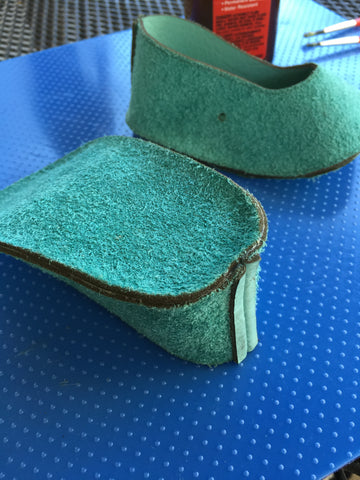
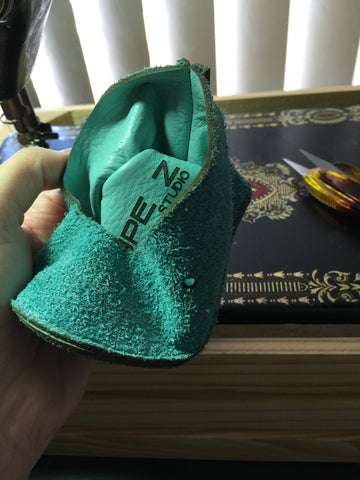
Next you'll need to sew the top to the sole. Again you'll be attaching the pieces good sides to each other since after sewing you'll be flipping it inside out. This time you need to use the contact cement. Something to keep in mind is that because you are taking 2 pieces that are 1 dimensional (flat) and making them 3 dimensional, you will have to fudge it a little as you go along glueing the edges.
I recommend starting with a little bit of contact cement at the front of the shoe, pressing the two pieces together and do a little at a time (I've marked the front of the top and sole on a the template with a line to help with this). This way you can make adjustments as you go along and if it gets a little off by the end it's okay since it's the back end. ;) Make sure as you are doing this that you don't use two much contact cement because if you go wider than what your seam will be there will be visible contact cement when you flip the shoe inside out.
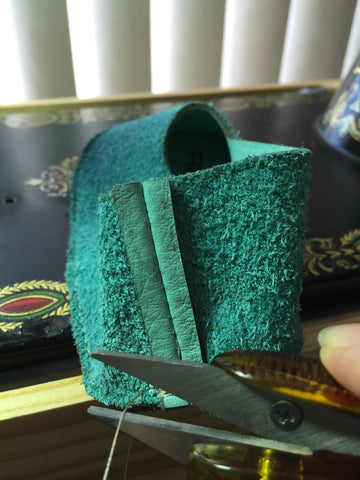
After attaching both shoes, let it dry a little then take it to your sewing machine. Because I laser cut mine and the laser burns the end of the leather so it doesn't fray, I didn't want a large seam and stitched mine close to the edge (that's what the second line on the pattern is for). With a large seam you will have to trim some of the excess leather off. You can stitch yours however you want but just keep in mind that the further away from the edge you get, the smaller the shoe will be in the end.
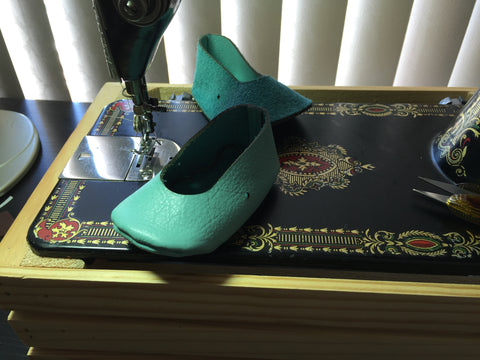
After you are done stitching flip the shoes right side out and admire your progress (your making shoes!).
Step 5: Add the Straps
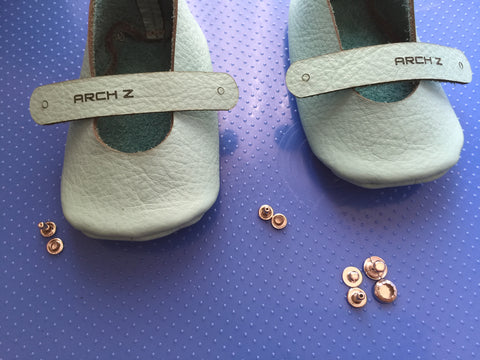
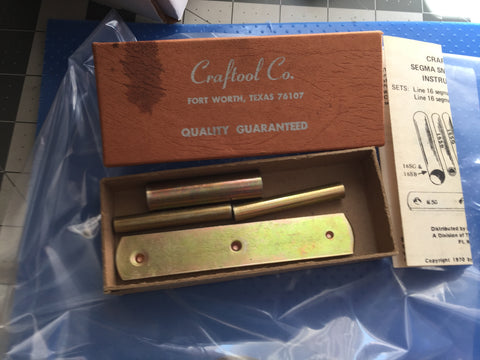
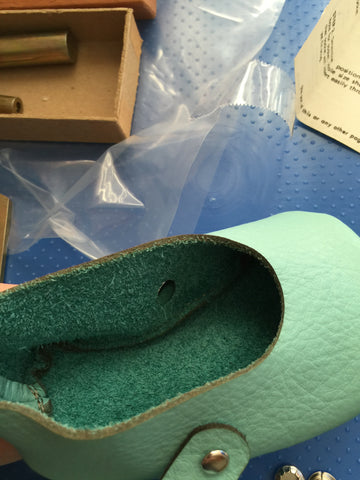
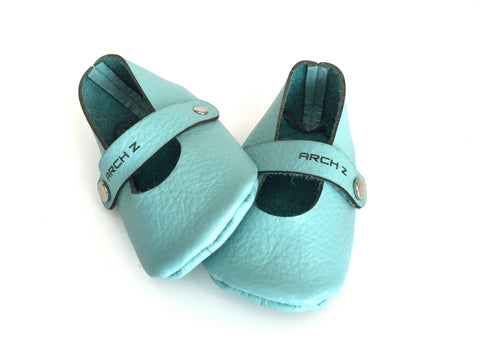
Now you need to add the straps to the Mary Janes. You have a few different options for this and don't need to use the straps I designed. You can stitch an elastic band or add some ribbon or use plastic snaps and buttons. Whatever it is make sure however you attach it there's nothing sticking out on the inside and nothing that can be bitten off. I went with double cap rivets and segma snaps because they would be permanent and I installed them in a way so that they are smooth and flat on the inside. This is probably much more heavy duty than needed on baby shoes that will be worn very briefly so I probably won't do that if I ever make baby shoes again.
Step 6: All Done!
Take a step back and admire what you've done. If they're a little messy don't worry about it-- they're handmade. And the very small human that will be wearing these probably won't mind. ;)
Check out other completed leather projects in my Archetype Z Studio shop!


